Today, it is possible to pick up a pencil and sketchbook and get drawing within five minutes of deciding to do so. We might not all find it an easy thing to do but it is usually easy to get our hands on the materials we need.
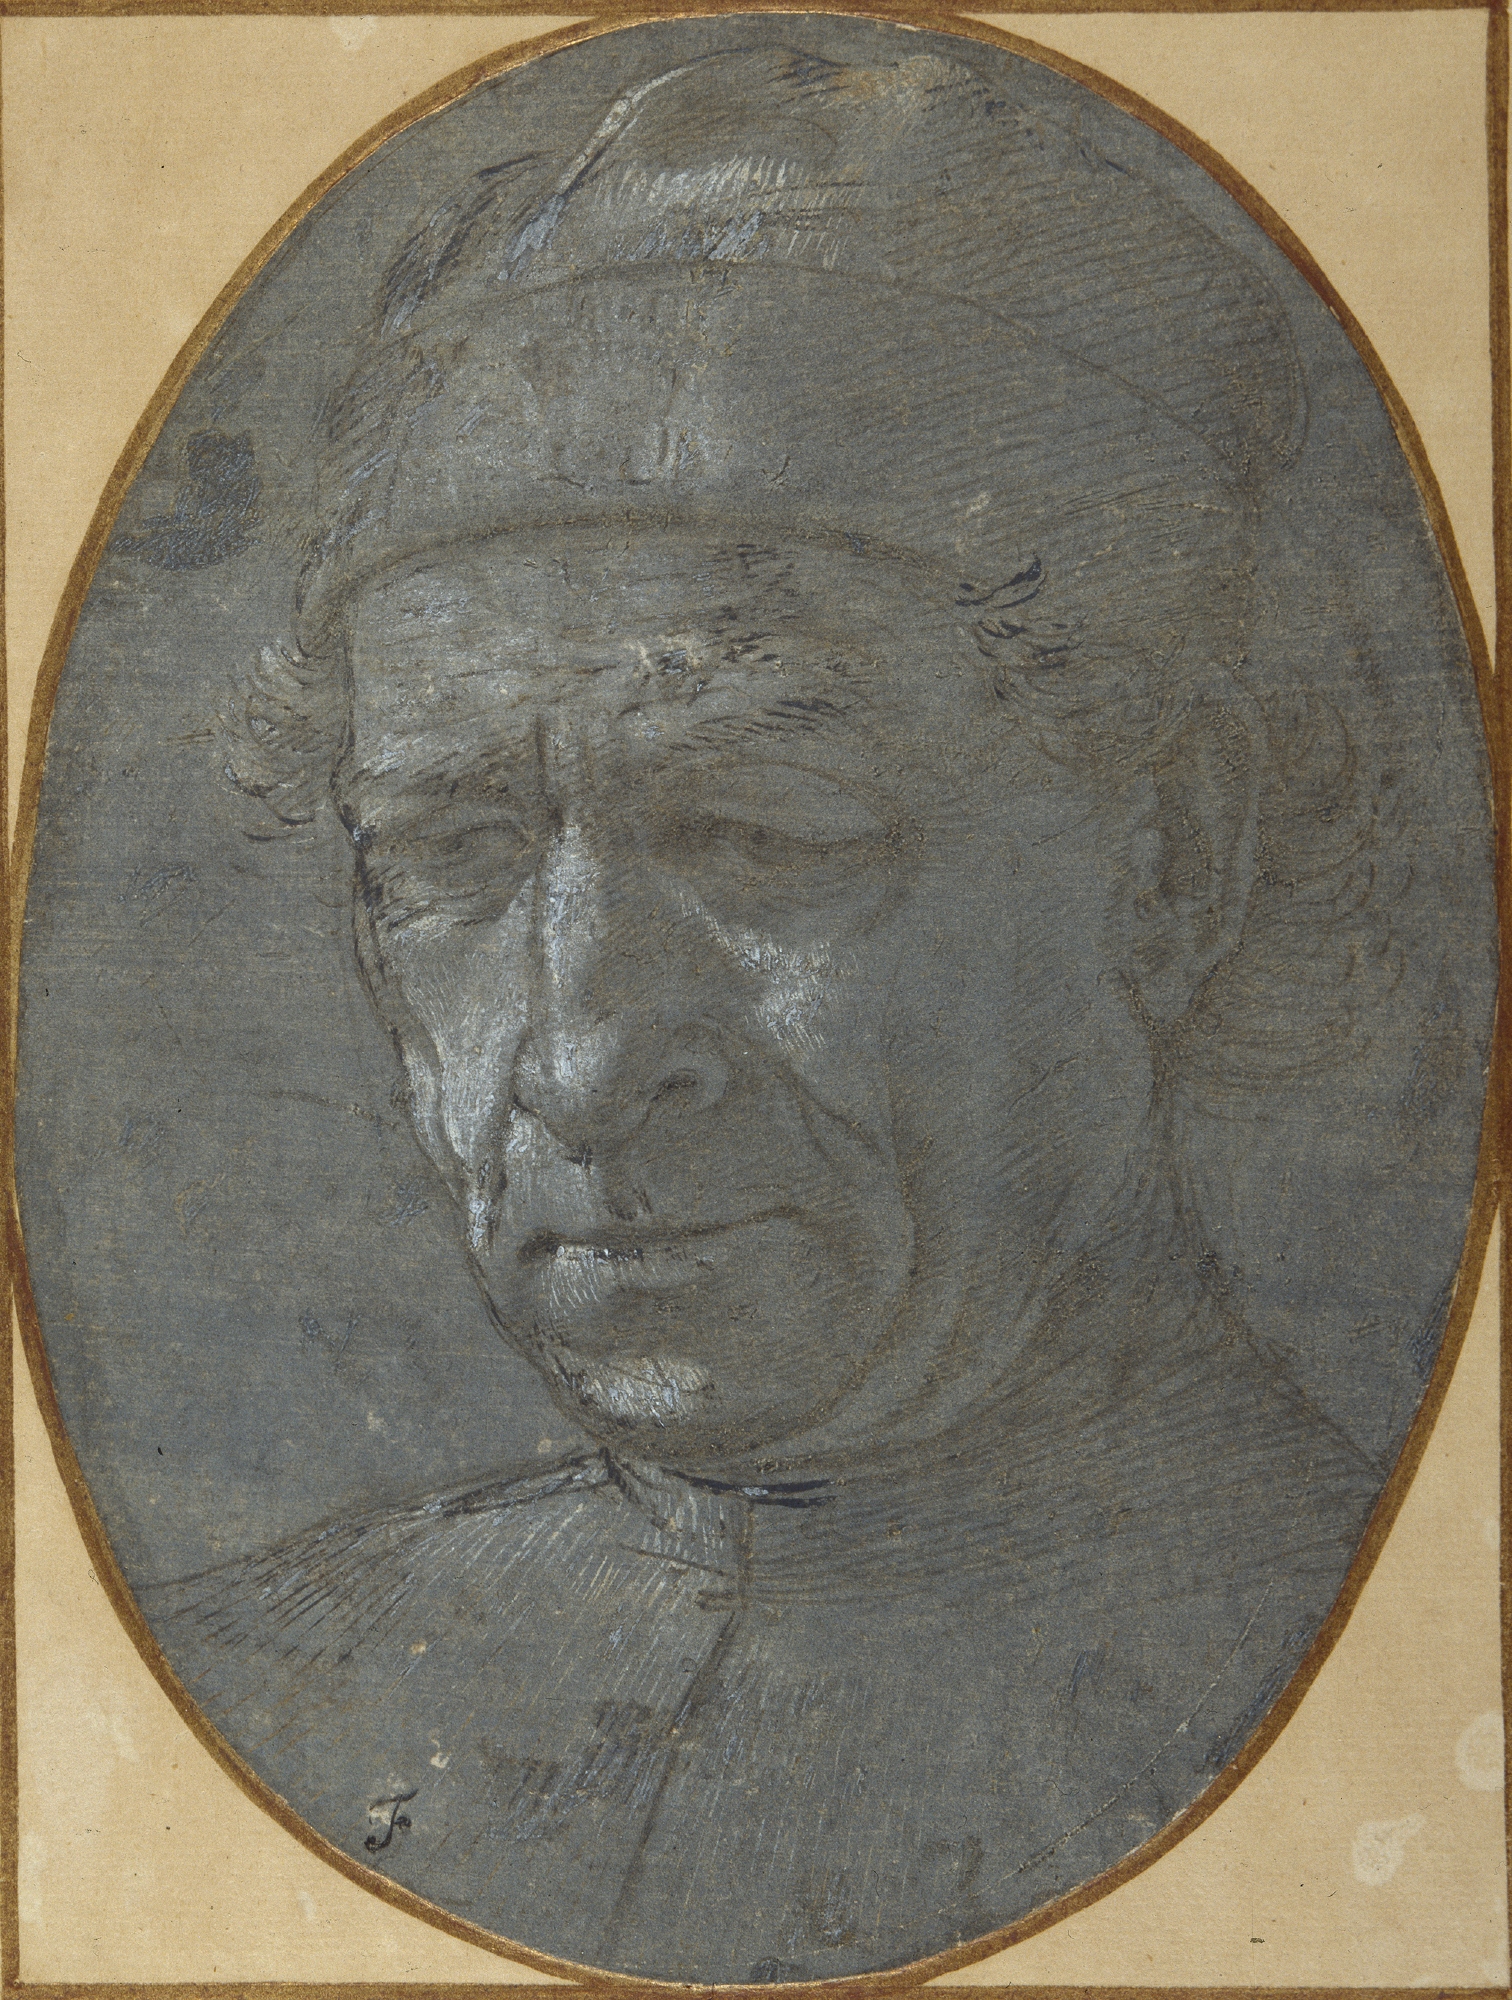
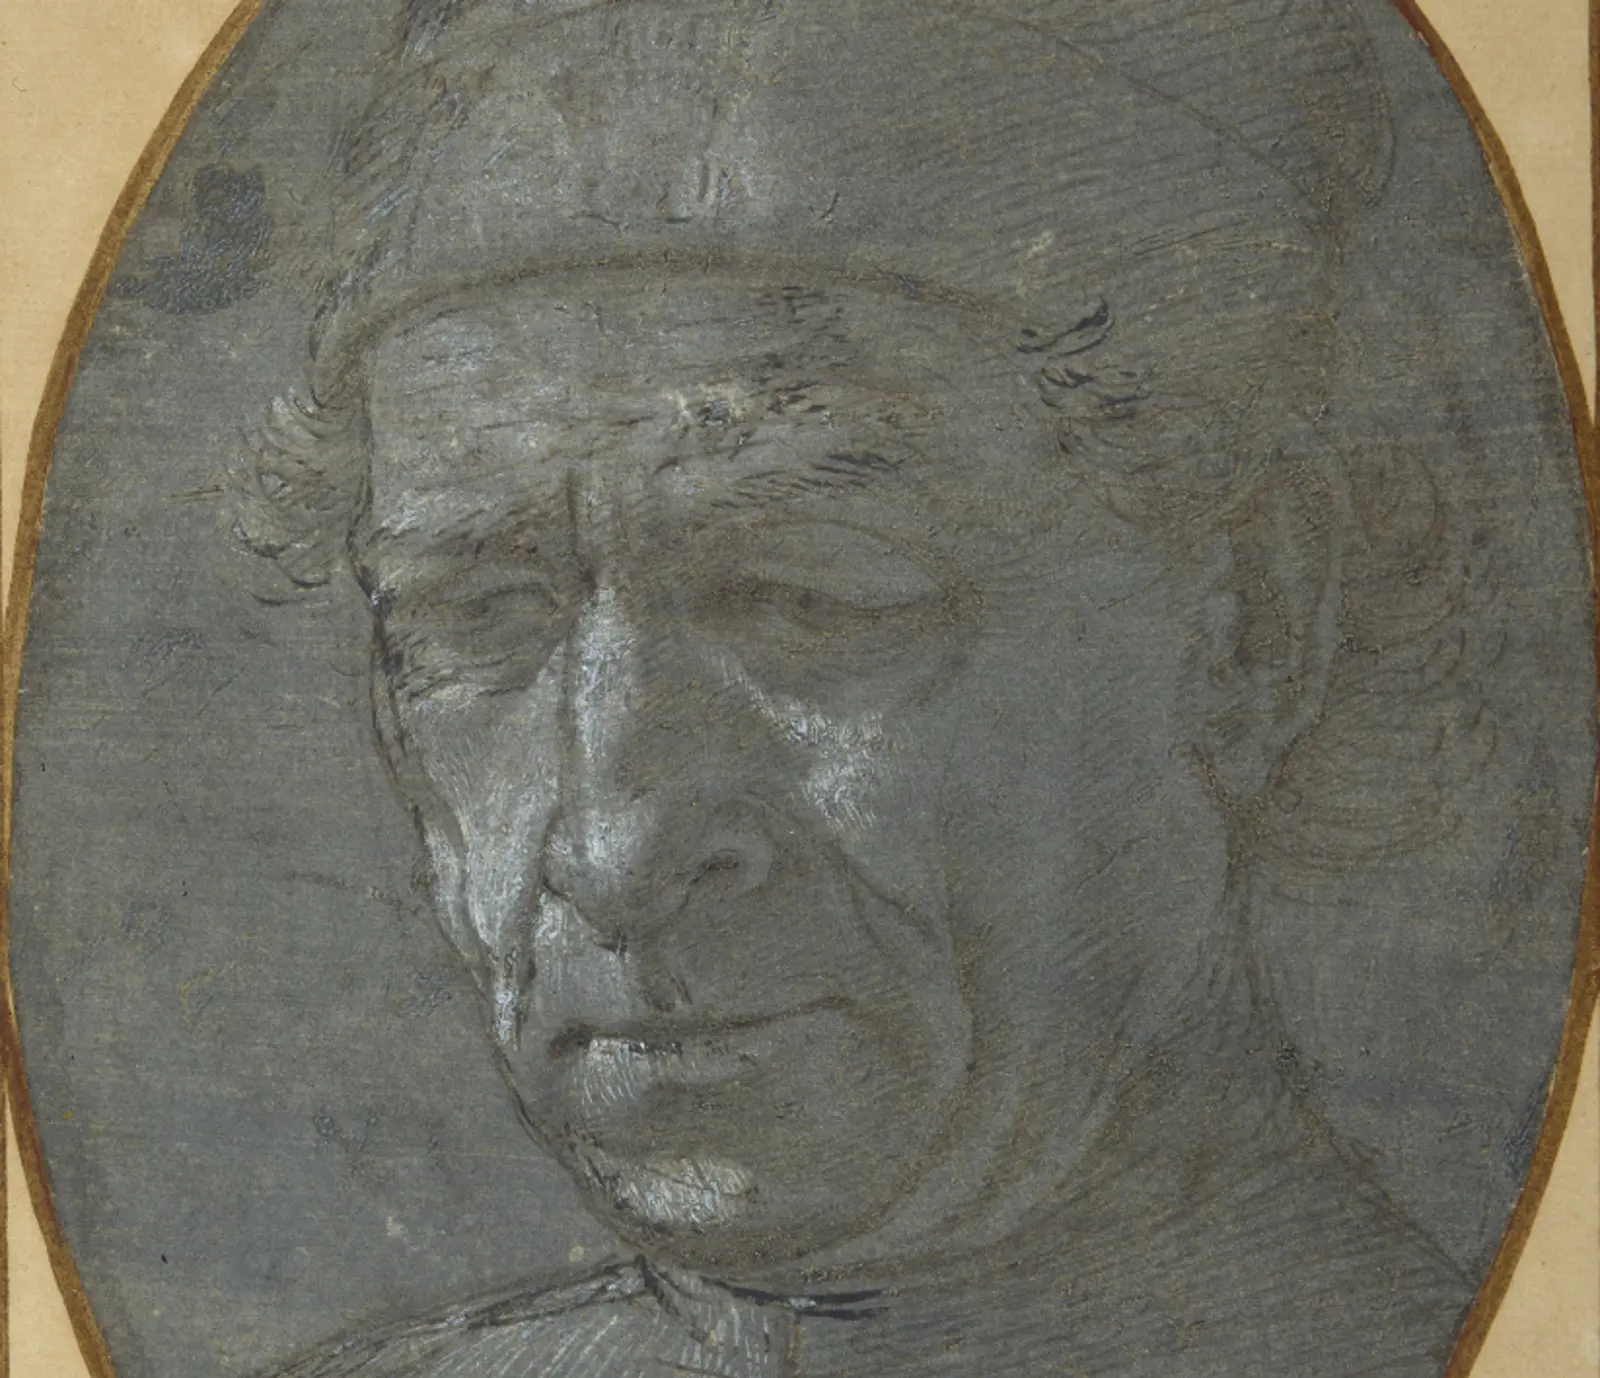
When Filippino Lippi, who made this silverpoint portrait, was alive, preparing to draw took a bit longer.
Lippi lived and worked in Florence (and spent some time in Lucca and Rome) in the second half of the 15th century. At that time, artists often drew using silver and gold. Drawings could be made by dragging a small rod of silver, inserted into a drawing tool called a stylus (silverpoint literally referring to a pencil point made from silver), across a prepared surface usually made of vellum.
Let’s start thinking about the surface Lippi has drawn on to.
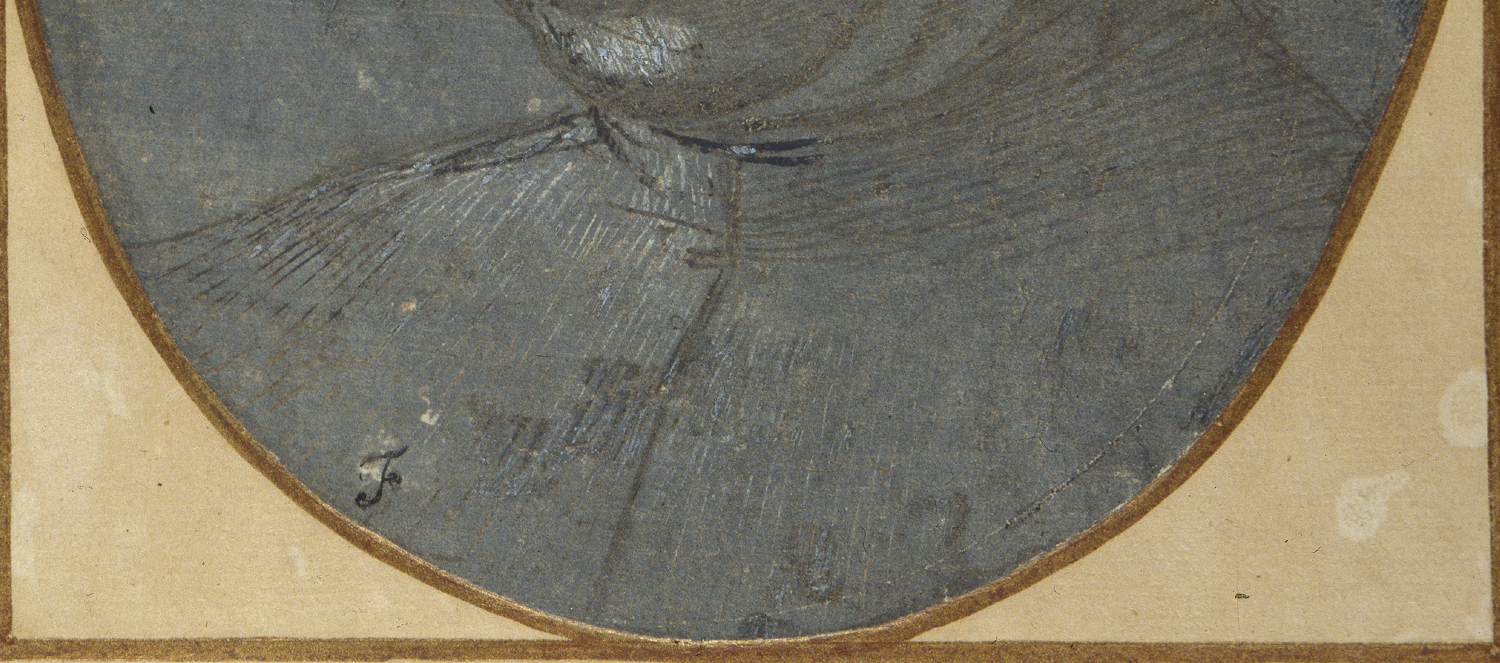
At a first glance, this might look like a pencil drawing on an oval piece of grey paper. Paper was handmade, either of animal skin (vellum) or by pulping rags. Imagine taking a piece of silver (you can try this at home or at school with a piece of jewellery, cutlery or the outer rim of a ten pence coin) and trying to make a mark with it on a piece of paper. It will not leave a mark. The surface has to be treated with a substance for the silver to adhere/stick to.
The vellum here is covered with a size – probably made of animal glue and chalk mixed with some pigment. When silverpoint is applied to the treated surface, traces that look like pencil marks can be seen.
Cennino Cennini’s The Craftsman’s Handbook, written in the 15th Century, is a useful source of information about the artist’s toolkit. Here you will find detailed descriptions of what artists had to do in order to prepare to draw and paint, among other things.
How you begin drawing on a little panel; and the system for it. Chapter V
As has been said, you begin with drawing. You ought to have the most elementary system, so as to be able to start drawing. First take a little boxwood panel, nine inches wide in each direction; all smooth and clean, that is, washed with clear water; rubbed and smoothed down with cuttle such as the goldsmiths use for casting. And when this little panel is thoroughly dry, take enough bone, ground diligently for two hours, to serve the purpose; and the finer it is, the better…And stir this bone with a little saliva. Spread it all over the little panel with your fingers; and, before it gets dry, hold the little panel in your left hand, and tap over the panel with the fingertip of your right hand until you see that it is quite dry. [1]
All this before beginning to draw!
The Artist’s Apprentice
Being an apprentice at this time was quite a different experience than it is today. For artists, apprenticeships started when they were around twelve years old and could last anything up to eight years. It was necessary to complete an apprenticeship and present a piece of work to the guild in order to be confirmed as a master (this is where the idea of a ‘masterpiece’ comes from).
Learning how to draw was an apprentice’s priority. Cennini’s handbook recommends that one year be spent learning to draw before proceeding to learn how to grind colours (for six years) and, only then, could artists begin painting.
Filippino Lippi was an apprentice in the workshop of Sandro Botticelli, one of the best known artists of the period now described as the Early Renaissance. In his workshop, Lippi’s training would have involved learning perspective, foreshortening and how to measure proportions.
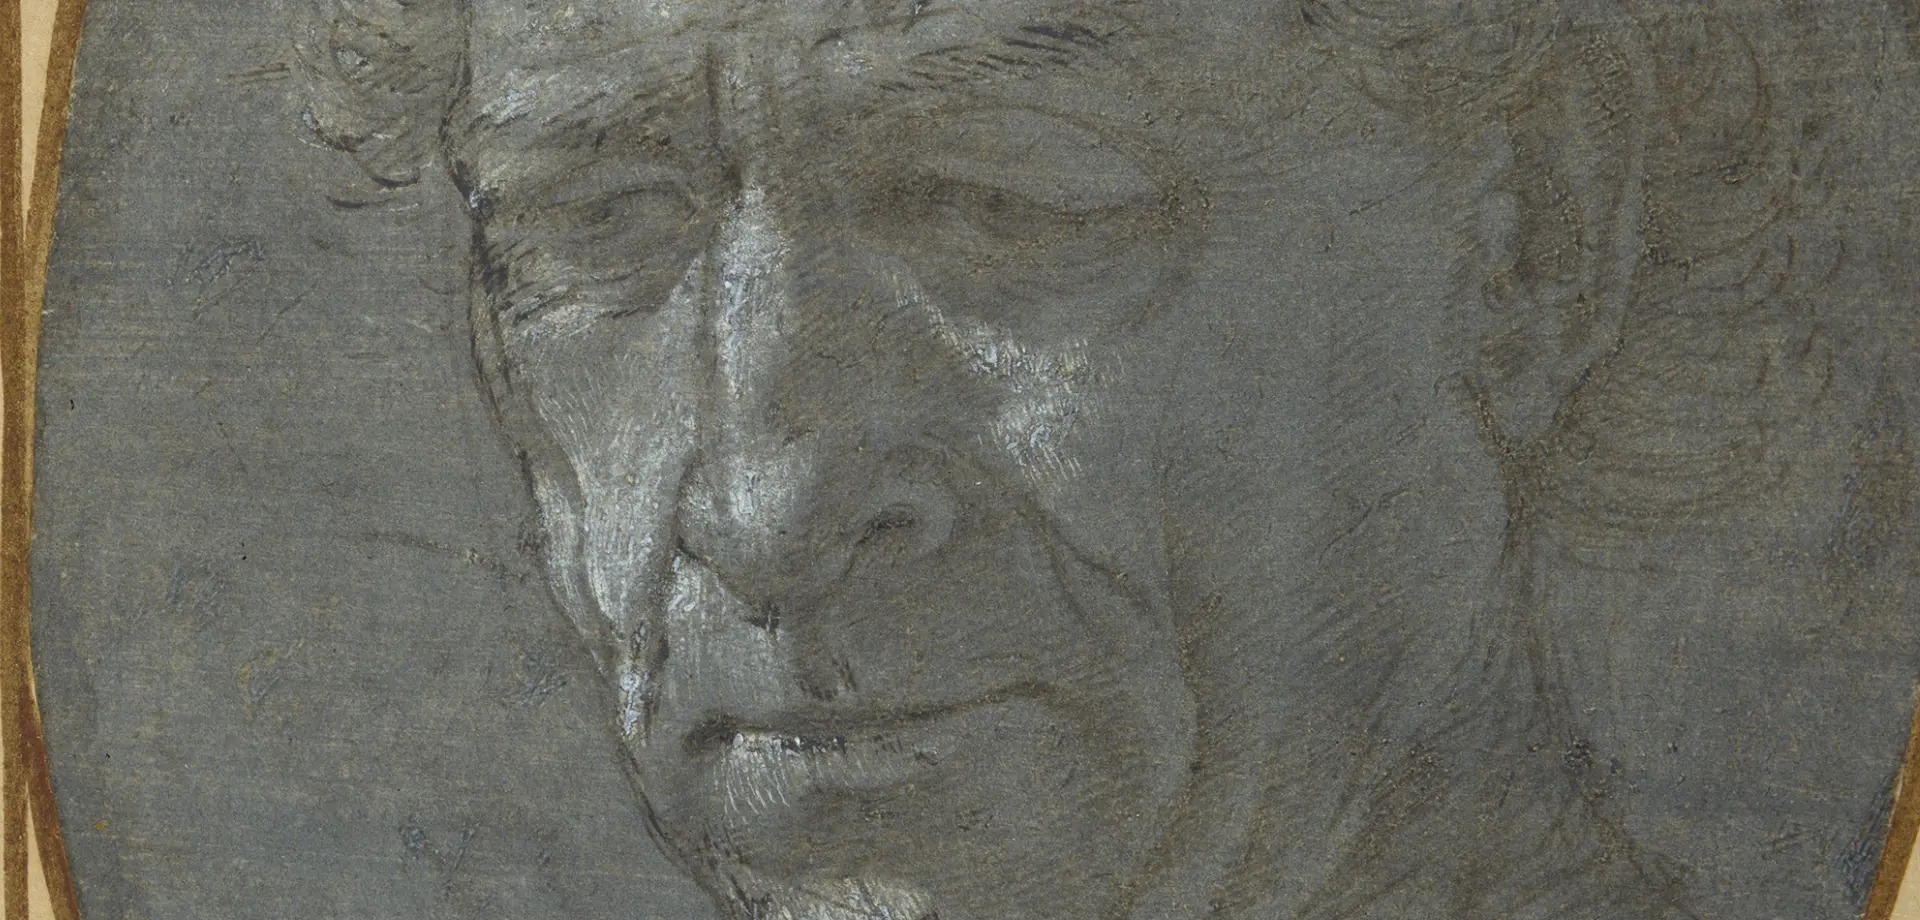
Let’s take a closer look at how Lippi has captured this likeness. Note that we can detect a number of different approaches to mark making.
Take a moment to think about what you can see here (forget, if you can, that this is a man’s face and think instead about the surface being made up of a series of lines, dashes and marks).
Try to note the following:
- Where Lippi has used a strong continuous line
- Where Lippi’s lines are straight and where they are curved
- Where Lippi has used parallel hatching and what effect this has
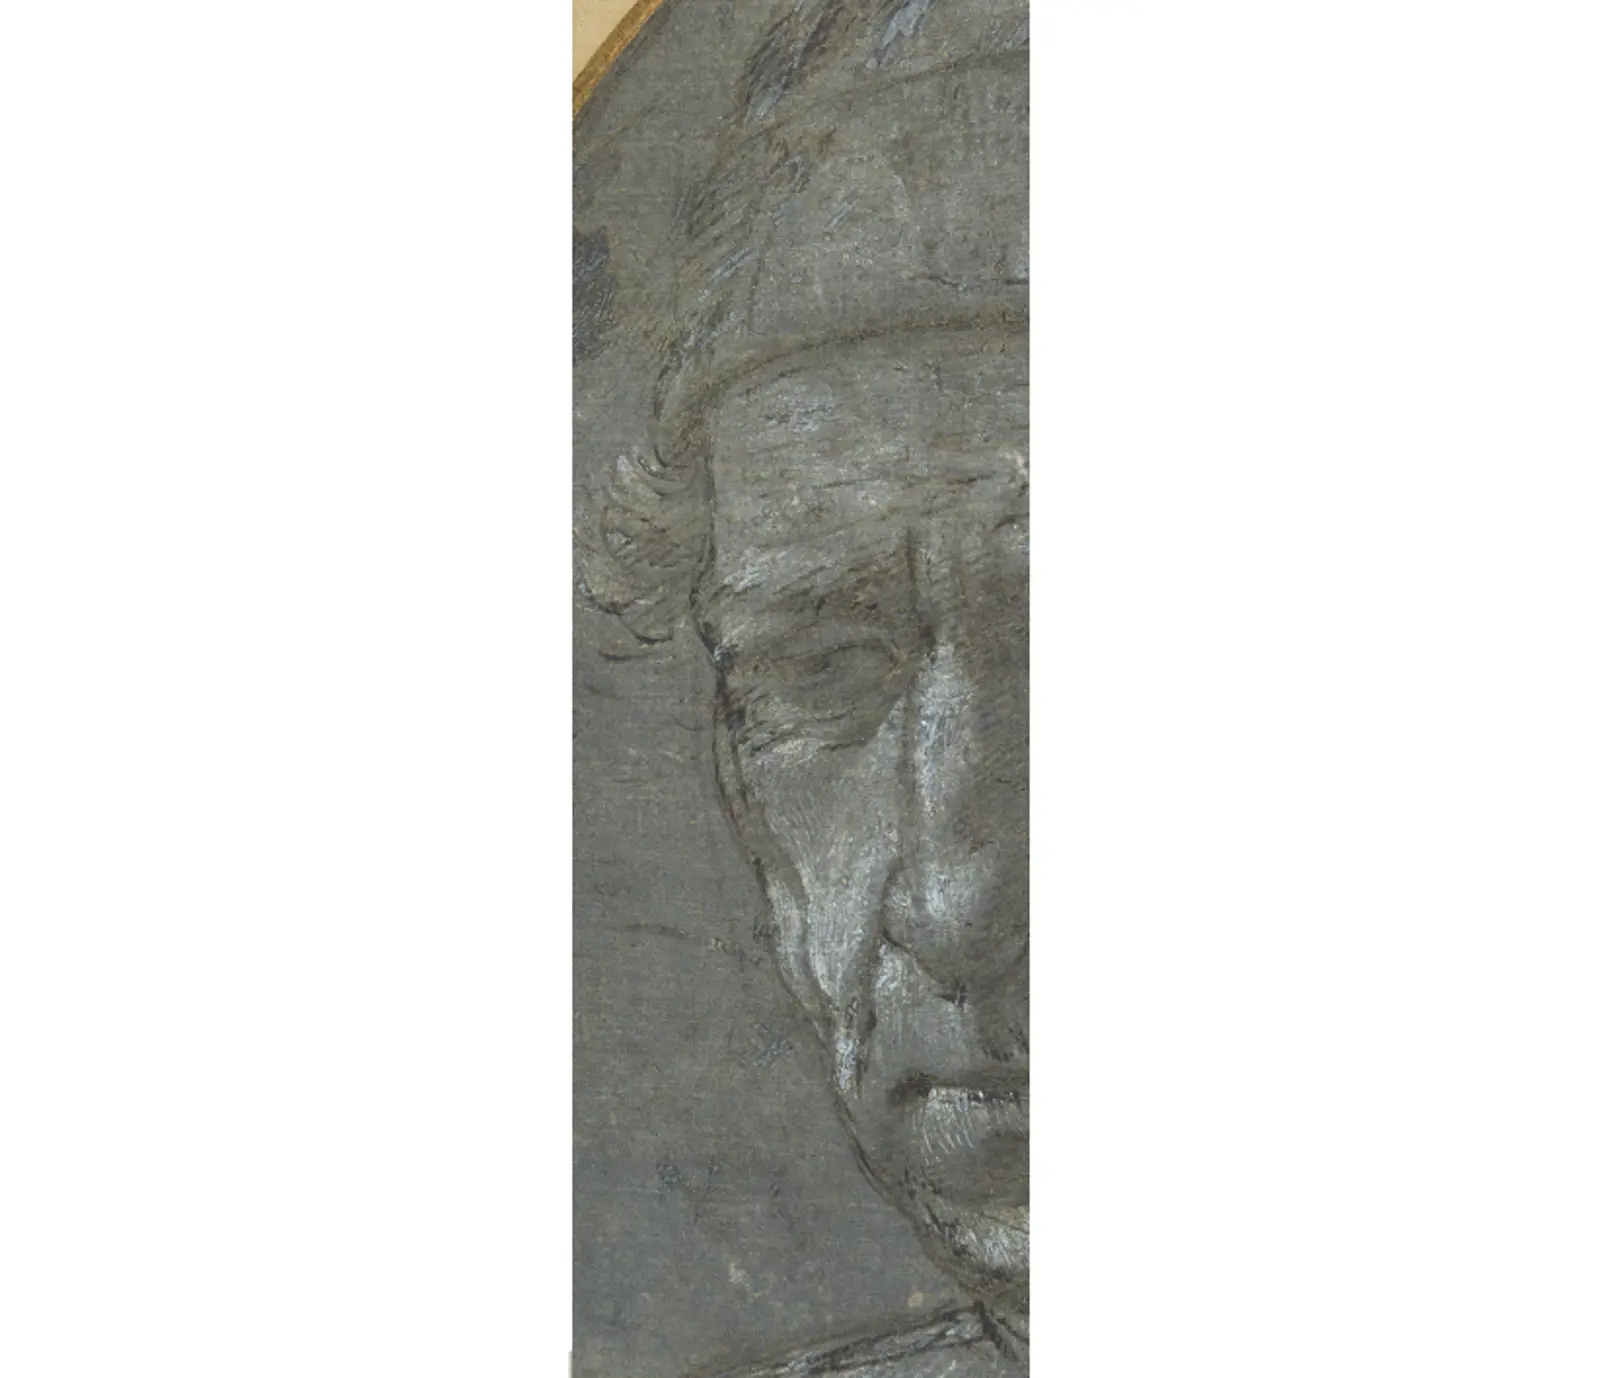
Line has been used to specific effect here. The close hatching down the sunken or puckered folds of skin over the man’s cheek, and under the creases and folds between his chin and neck suggest the artist was attempting to capture the age of the man. Note that hatched lines appear darker at the corners of his mouth and eyes. In some ways, Lippi’s use of line is visually reminiscent of the actual lines that appear with age.
Line does more than suggest age; while some areas of hatching animate the eyes and mouth, elsewhere line suggests a sculpted quality to the face.
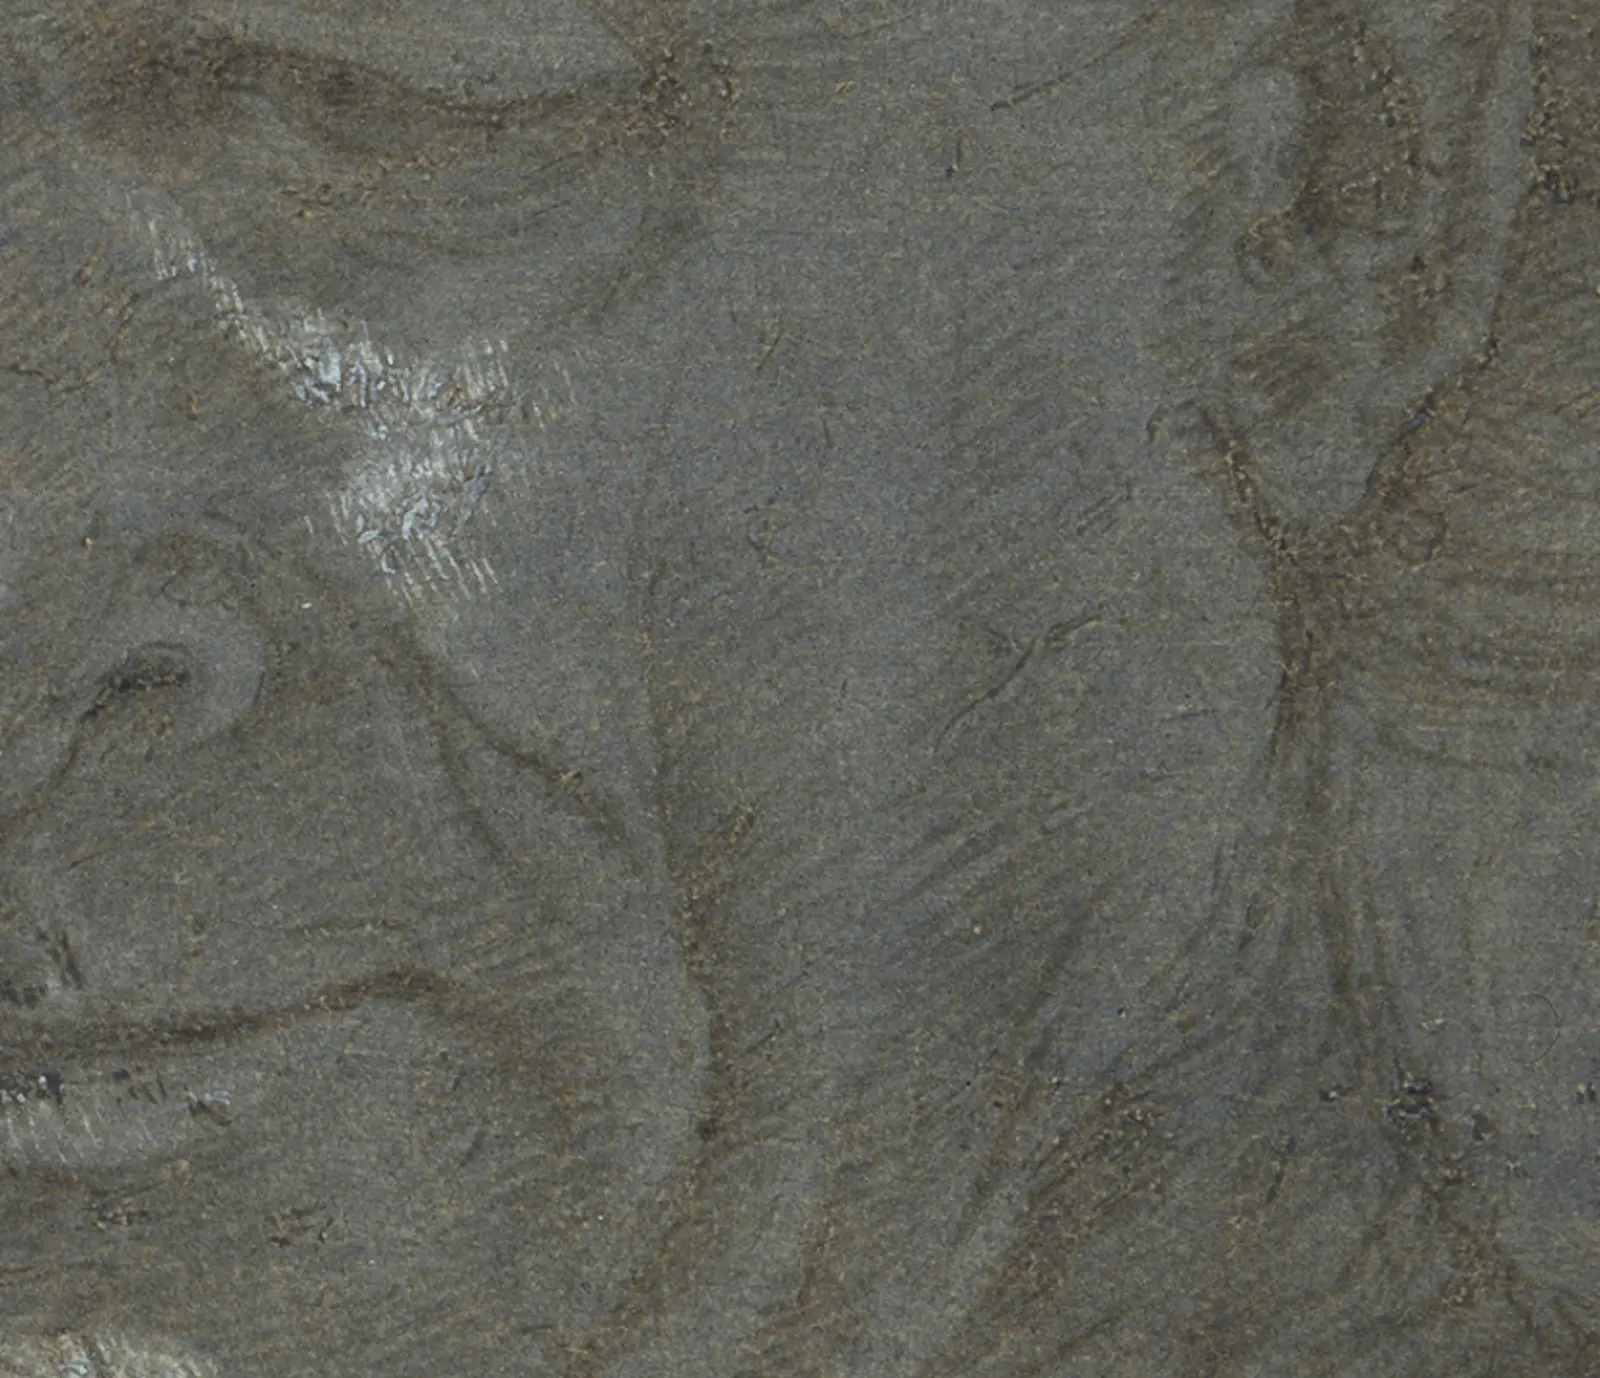
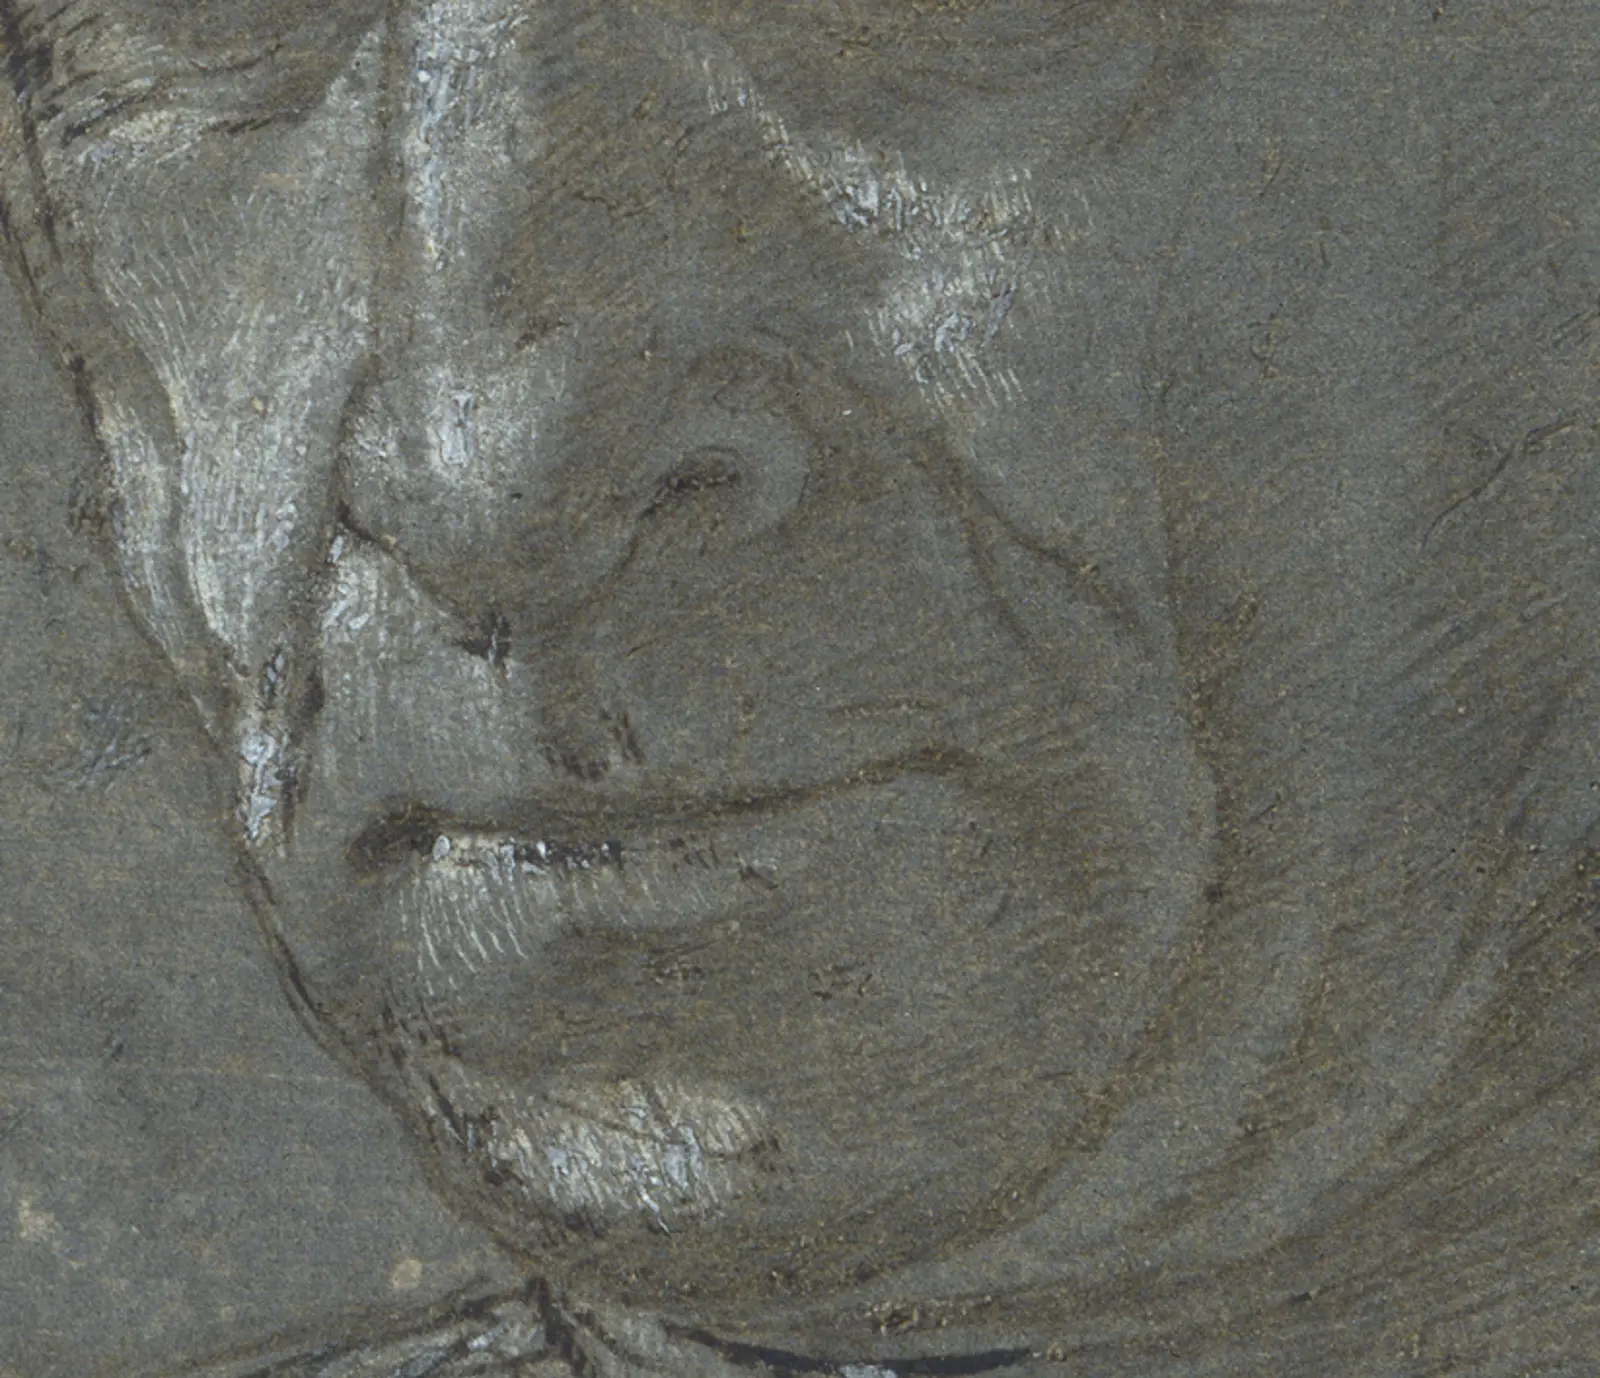
Let’s zoom in again, this time to the nose, cheeks, mouth and chin. What do you notice?
In these areas of the man’s face, the surface of the drawing has been heightened using white bodycolour (an opaque medium often applied to drawings on tinted paper and used to suggest contrasts). What effect does this have? Try to imagine what the drawing would look like without this bodycolour.
When an artist uses a softer medium such as chalk, it is possible to create shadows on drapery folds or model the shape of a body or face by blending the chalk on the surface. It is not possible to do this in silverpoint (or metalpoint more generally).
Compare these drawings, both made during the second half of the 15th century in Florence. Make a note of the different effects achieved using black chalk to those of metalpoint.
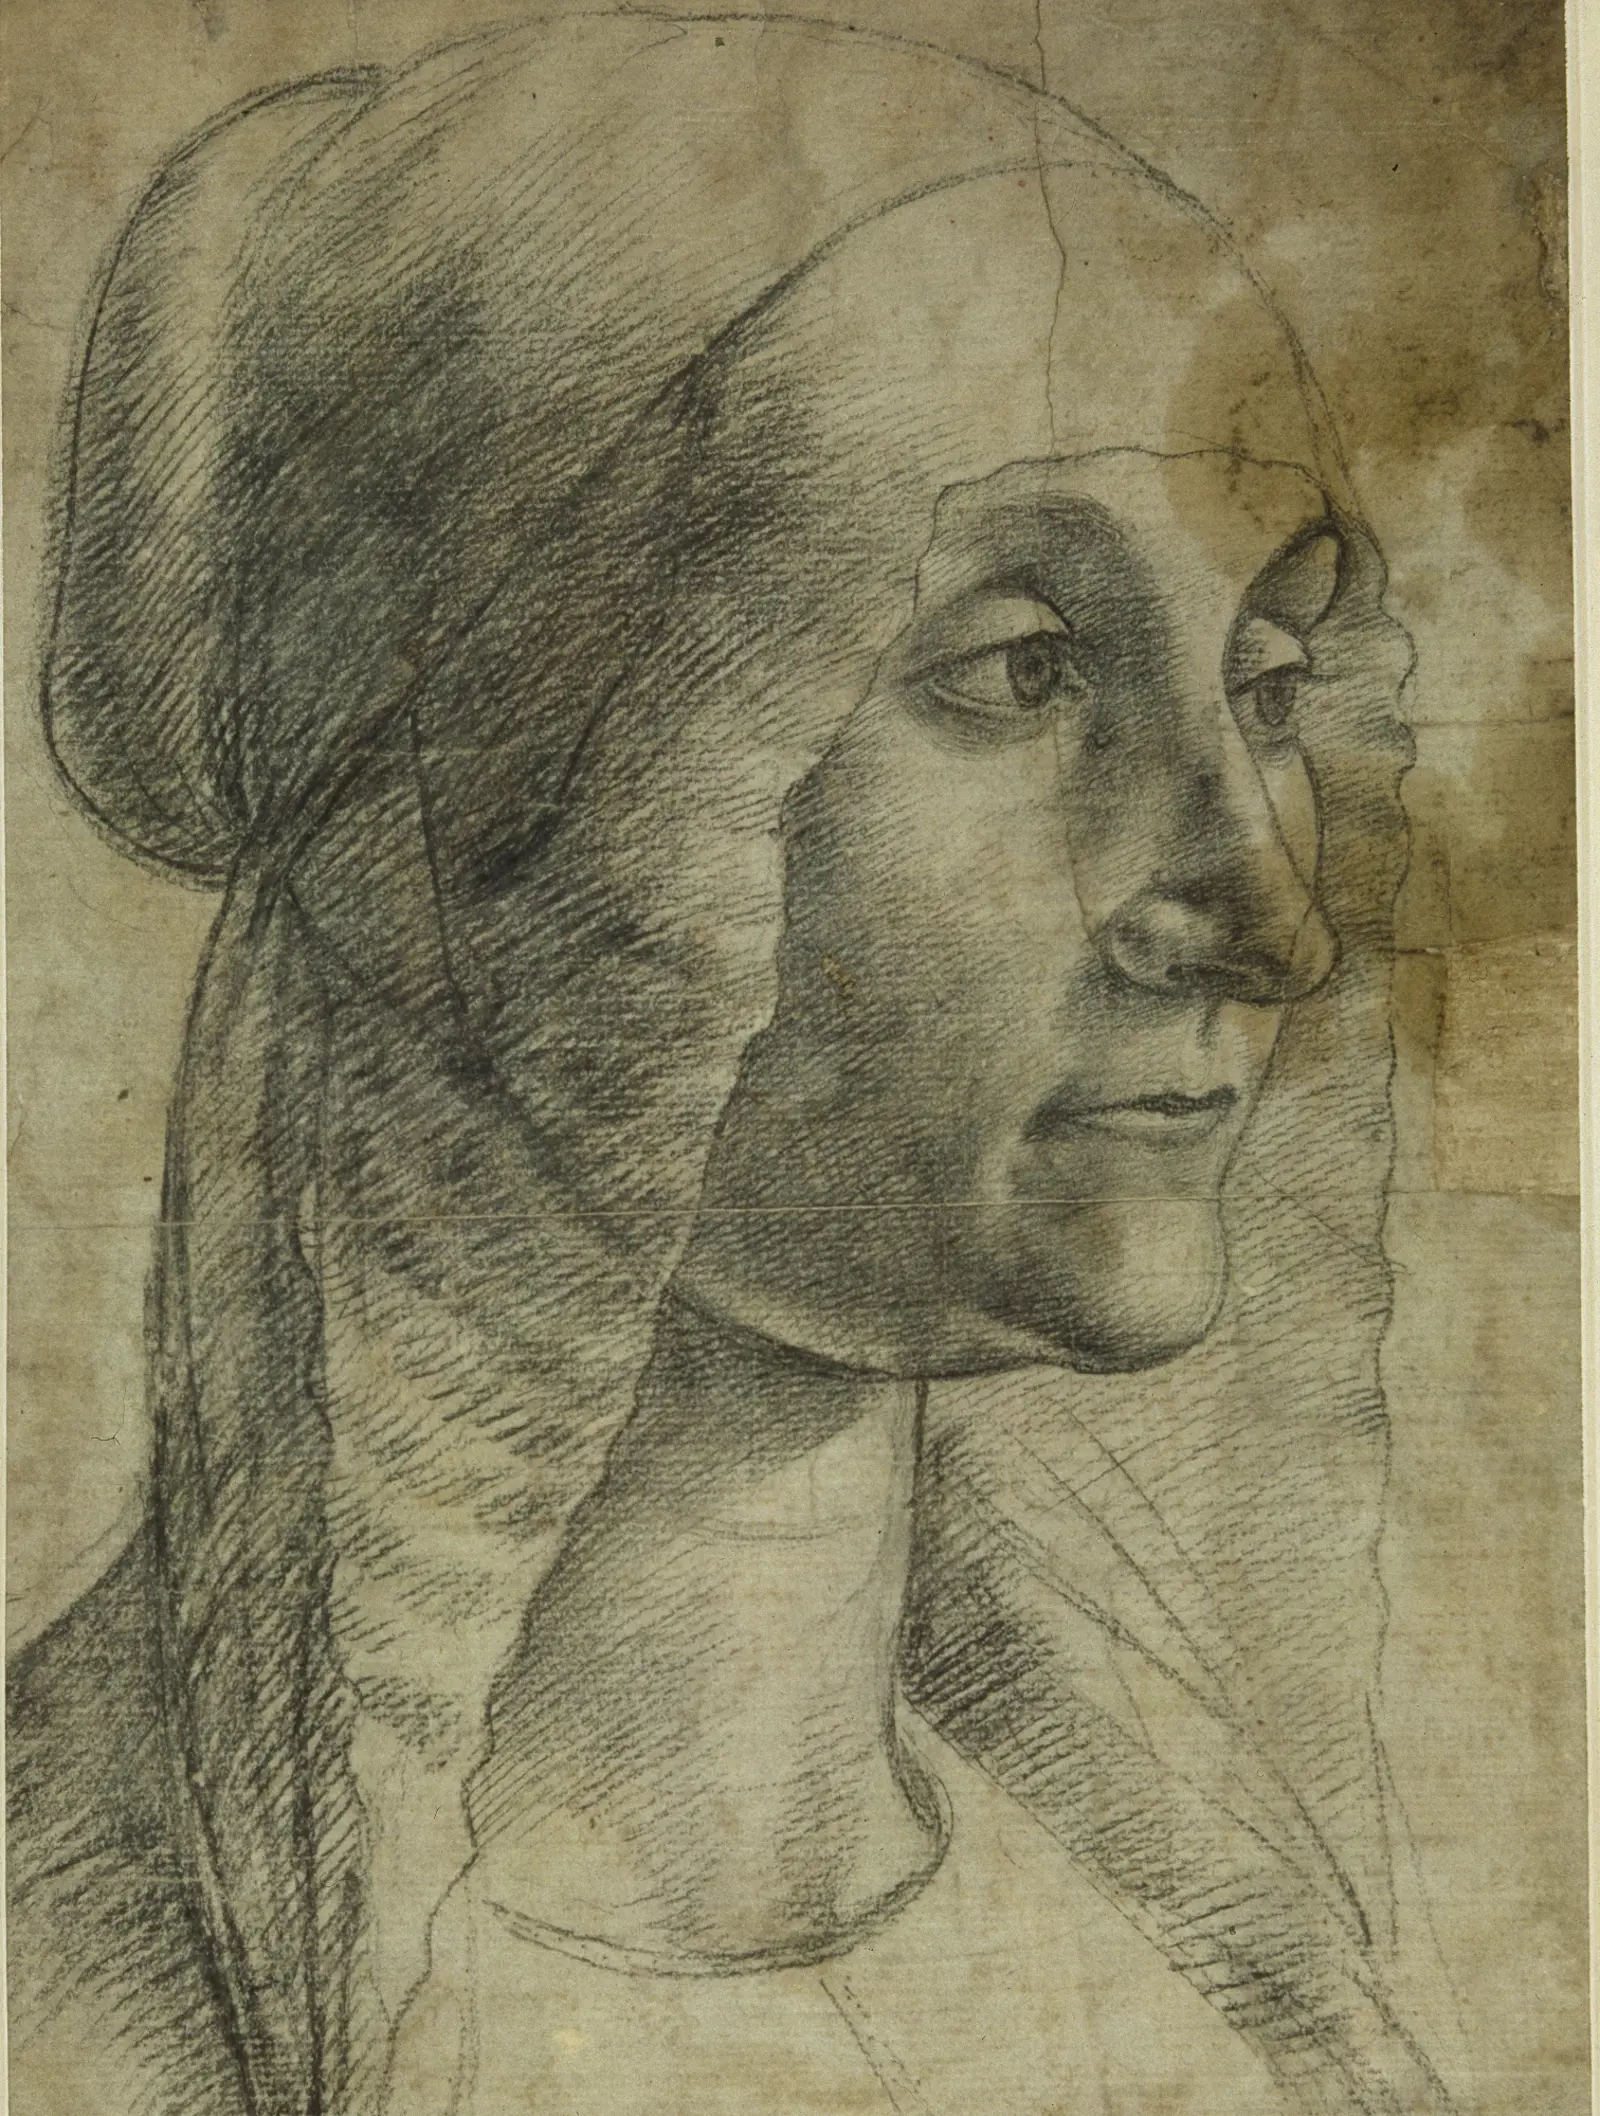
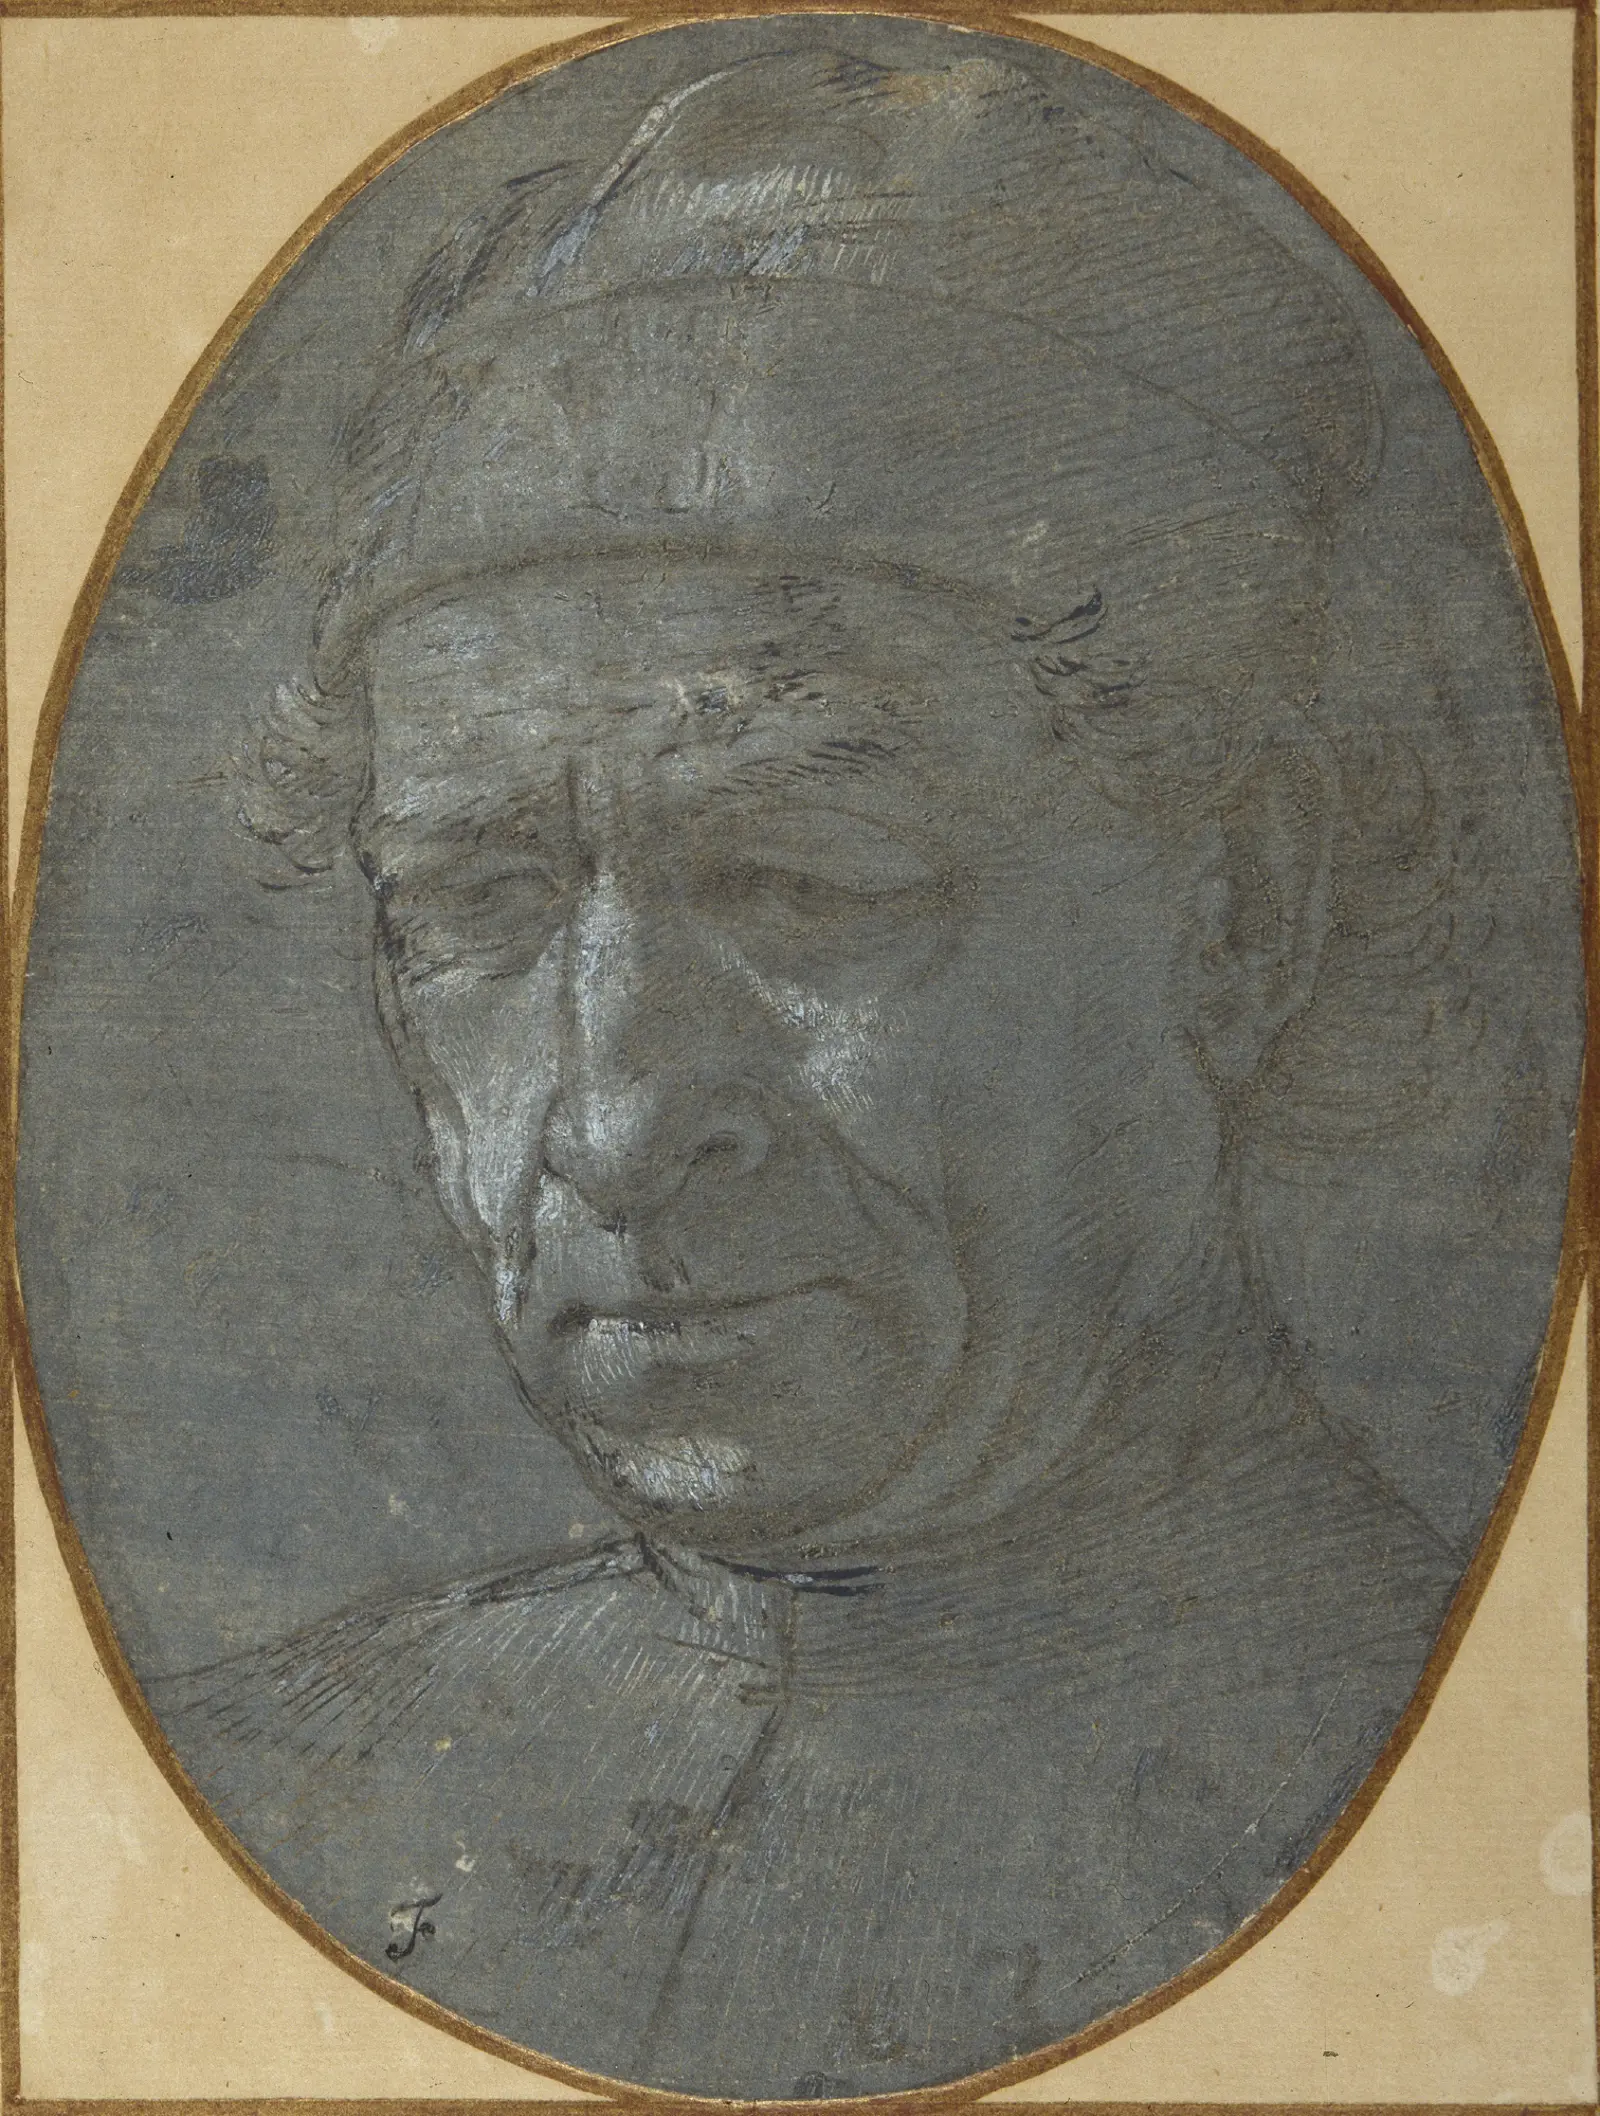
Image left: Domenico Ghirlandaio, Portrait of a female member of the Tornabuoni Family, black chalk
Lippi’s use of white bodycolour adds values to his drawing. That is to say, where he uses silverpoint to define the contours of the face and features, his use of white bodycolour enables him to depict highlights or contrasts of light and dark.
A softer material can be smudged with a fingertip – but this cannot be done with silverpoint. Instead, the artist has to suggest modelling or light and shade through their use of line alone. Lippi has added to his silverpoint drawing with white bodycolour to lighten certain areas of the face. When placed alongside the stronger and darker lines suggesting creases and puckers of flesh, the white bodycolour adds to the overall variation across this individual's face.
Who is this a portrait of?
This portrait is thought to be of Mino da Fiesole, also an artist (a sculptor) - best known for his sculpted portrait busts. The identification is based upon a likeness between our sitter in this Filippino Lippi drawing and that of a man in a woodcut print used to illustrate the biography for Mino da Fiesole in Vasari’s Lives of the Artists (first published 1550, rewritten and enlarged in 1568).
So, a drawn portrait of a sculptor who was known for his portraits! Identity aside, this silverpoint drawing is a wonderful study of the ageing features of this man’s face.
Something to think about
Giorgio Vasari was an artist and architect but he’s best known to us today as a writer. He wrote biographies of artists (Lives of the Most Excellent Painters, Sculptors and Architects), which was first published in 1550. He was the first writer to use the term Renaissance.
He is now thought to be one of the first people to collect drawings as works of art in their own right. He mounted and inserted some drawings into his text for his Lives of the Artists (but some of the drawings included in early editions of Vasari’s Lives of the Artists were added at a later date).
He wrote biographies of some of the artists featured in this resource (Raphael, Leonardo, Lippi, Michelangelo). His descriptions of their life and work are well worth a read but in reading them, beware: his writings reveal his own personal bias towards the superiority of Florentine art and it is possible that in the absence of information, he may have filled the gaps with his own imagination!
[1] Cennini, The Craftsman’s Handbook, Translated by Daniel V. Thompson, Jr. Dover 1960. P. 4


